How to Enable Einstein Email Capture in Salesforce: A Step-by-Step Guide?
Salesforce’s Einstein Email Capture helps automatically capture email and calendar interactions between users and customers, providing seamless data synchronization and actionable insights. This guide walks you through the steps to enable Einstein Email Capture in a professional Salesforce org.
Assigning Permission Set License
Before enabling Einstein Email Capture, you need to assign the required permission set license to the user.
- Go to the User Details Page:
- Navigate to the user’s details page in Salesforce.
- Click on Permission Set License:
- On the details page, locate and click on the Permission Set License section.
- Edit Assignments:
- Click on Edit Assignments to manage licenses.
- Assign Einstein Activity Capture License:
- Find and select the Standard Einstein Activity Capture User license.
- Assign the Standard Einstein Activity Capture permission set to the user.

Enabling Einstein Activity Capture
Once the permission set license is assigned, follow these steps to enable Einstein Activity Capture:
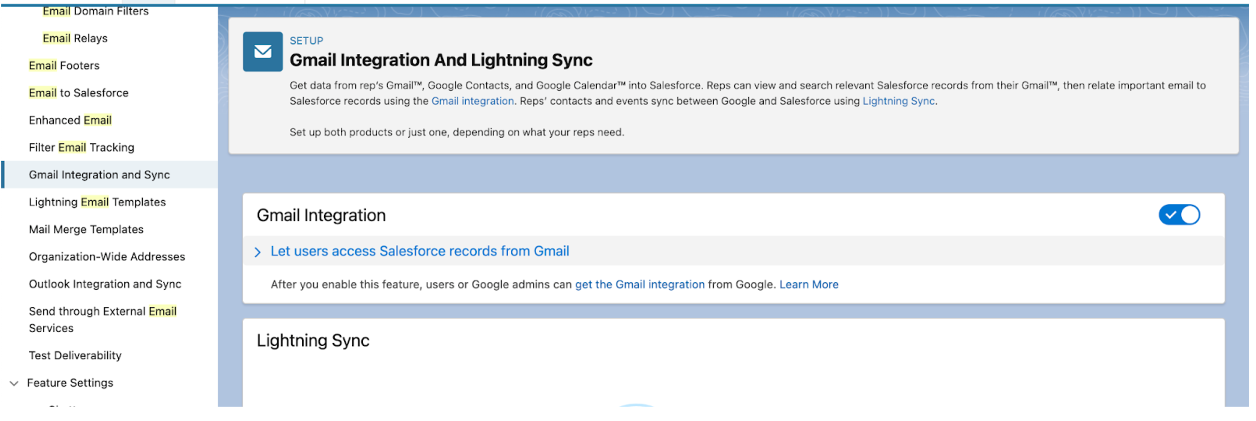
- Enable Gmail Integration:
- In the Salesforce Quick Find box, search for Gmail Integration and Sync.
- Enable the Gmail Integration feature.
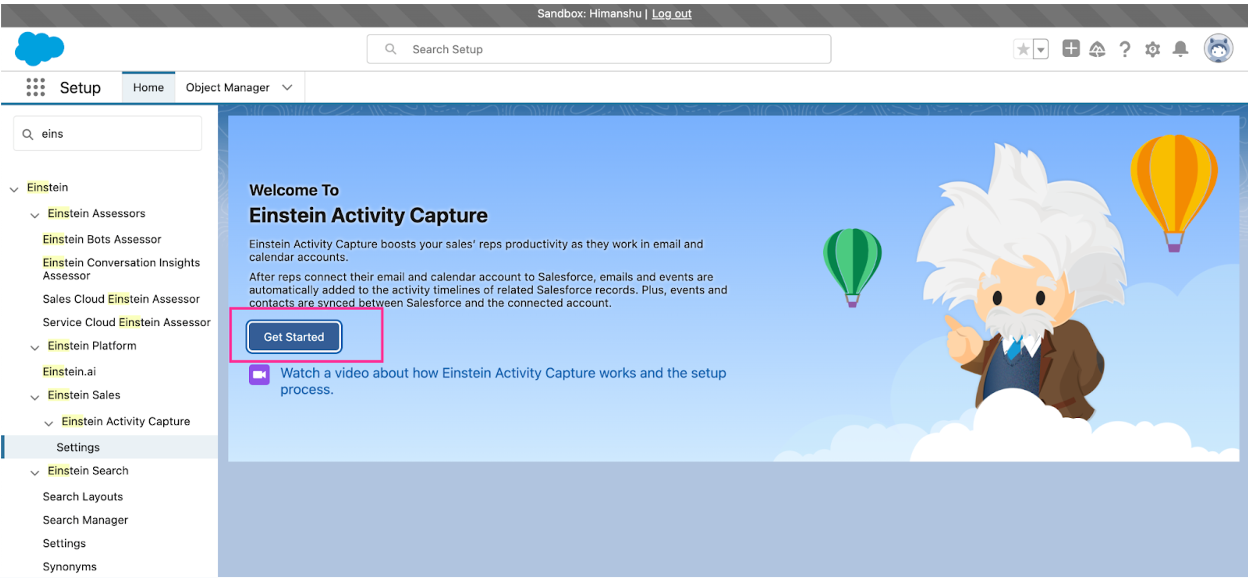
- Navigate to Einstein Activity Capture Settings:
- Search for Einstein Activity Capture in the Quick Find box.
- Click on the Settings tab.
- Select Get Started.
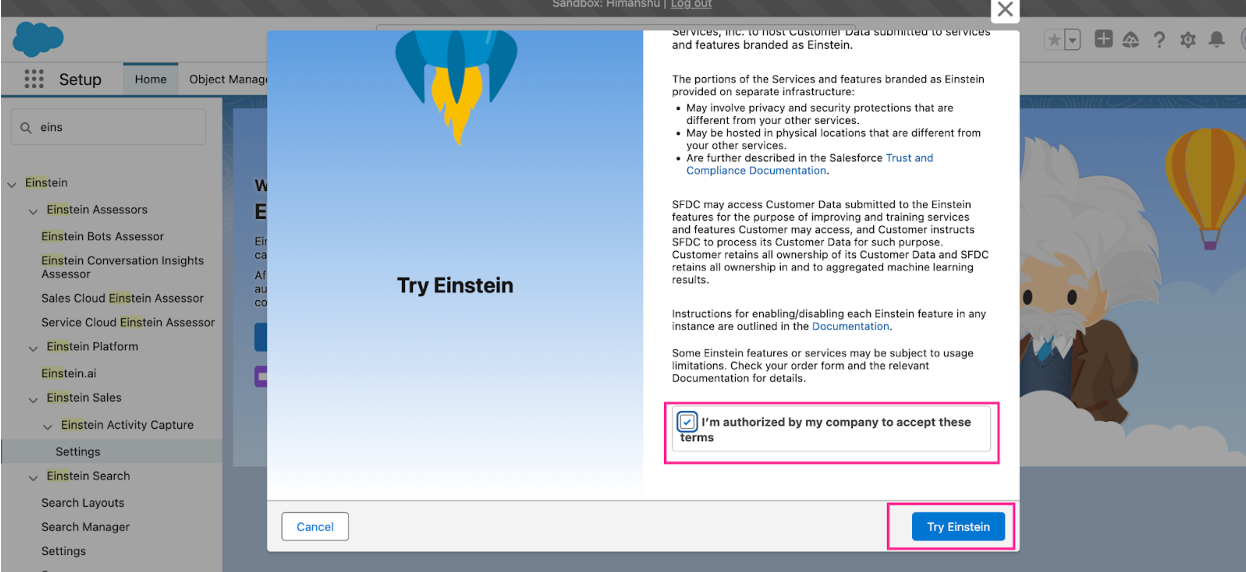
- Initial Setup:
- Agree to the terms by checking the required checkbox.
- Click on Try Einstein to proceed.
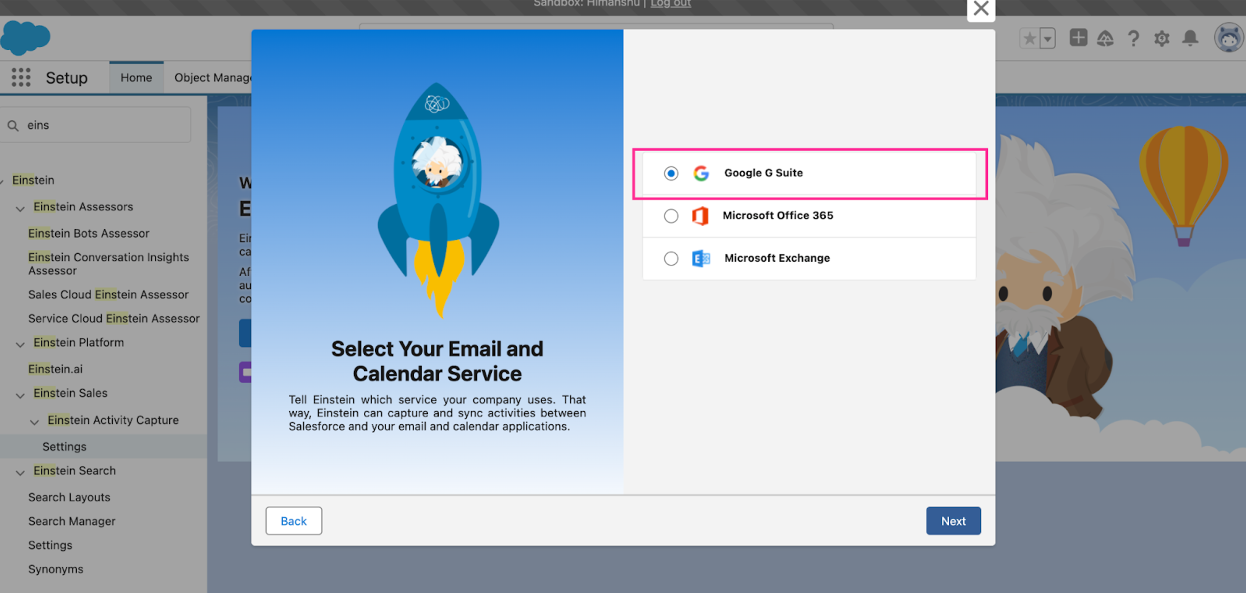
- Select Email Service:
- Choose Google G Suite as the email service provider.
- Click Next.Post
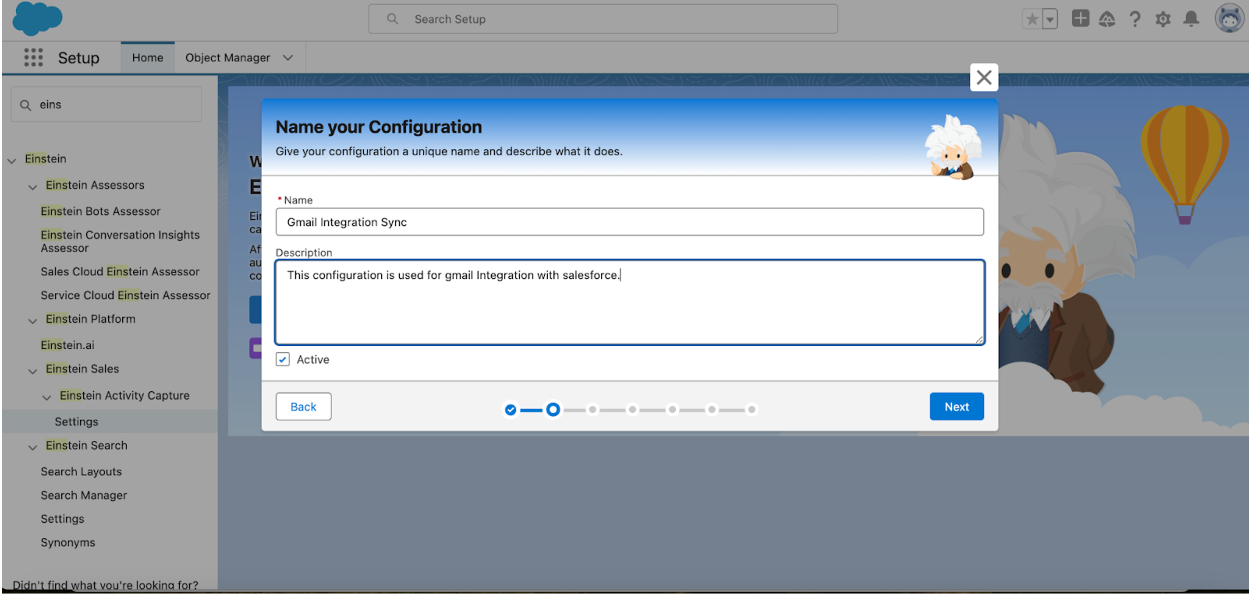
- Configure User Accounts:
- Allow users to connect their email accounts.

- Provide a name for the configuration.
- Allow users to connect their email accounts.
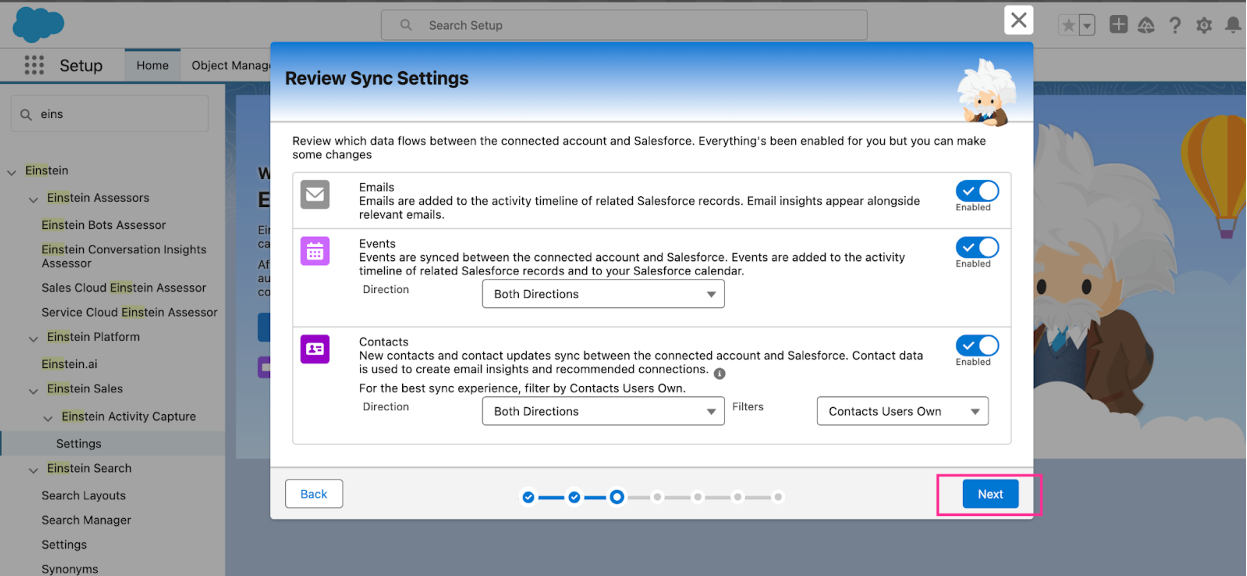
- Review Sync Settings:
- Review the synchronization settings for email and calendar interactions.
- Click Next.
- Adjust Advanced Settings:
- Fine-tune advanced sync settings and proceed by clicking Next.
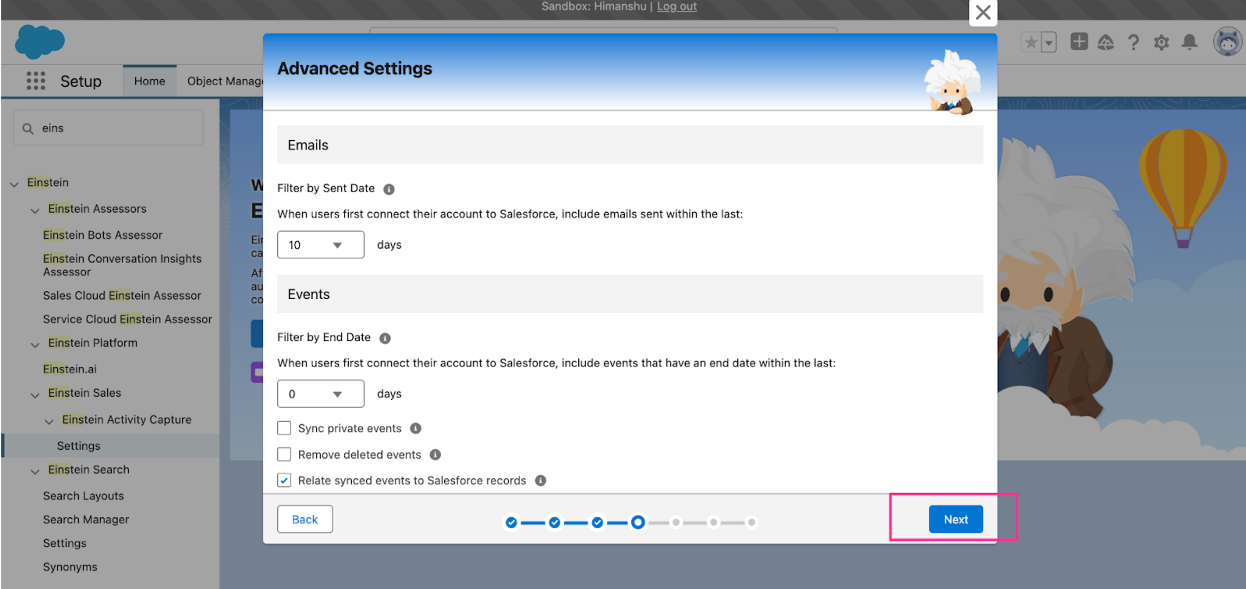
- Fine-tune advanced sync settings and proceed by clicking Next.
- Add Users and Profiles:
- Specify users and profiles for email synchronization with Salesforce.
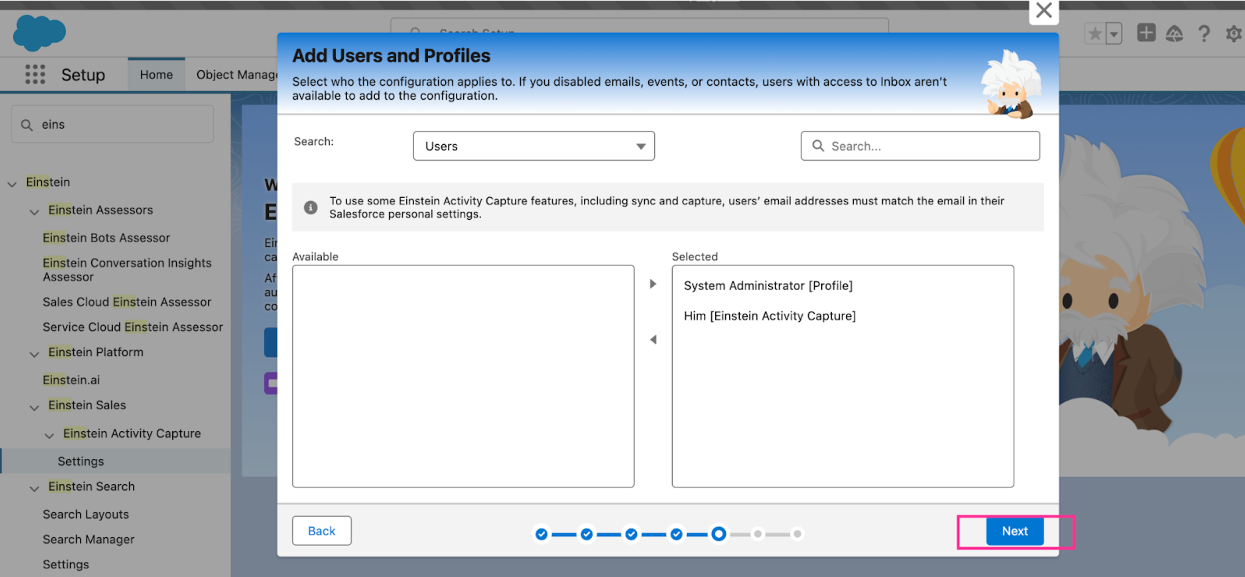
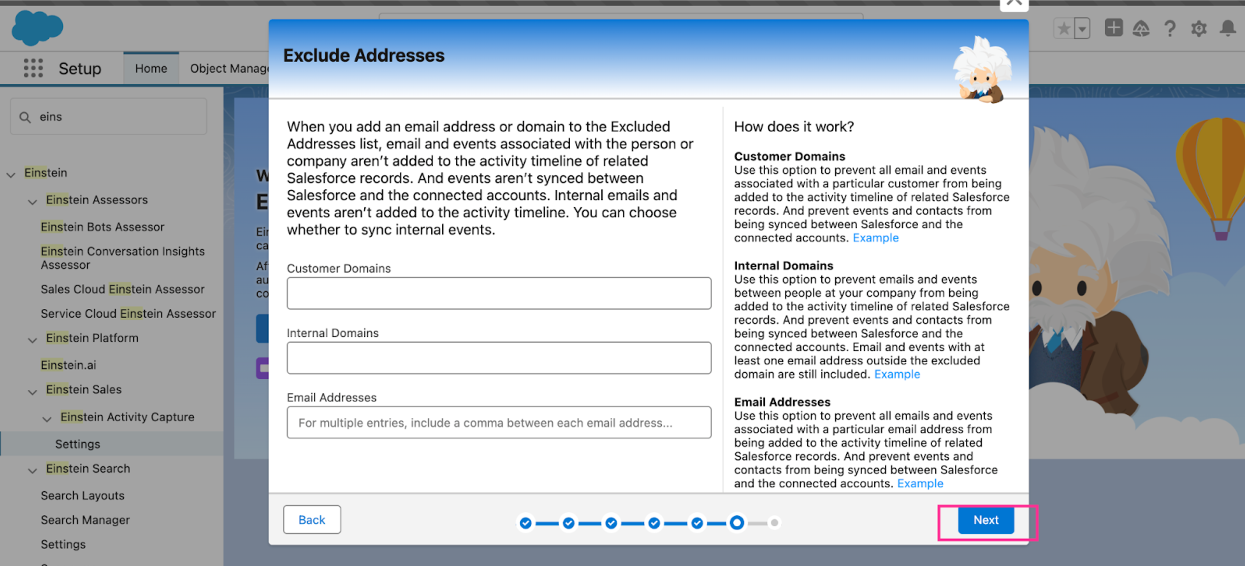
- To exclude specific emails or company domains, add them to the exclusion list.
- Specify users and profiles for email synchronization with Salesforce.
- Set Default Sharing Settings:
- Select the recommended Don’t Share option for default activity sharing.
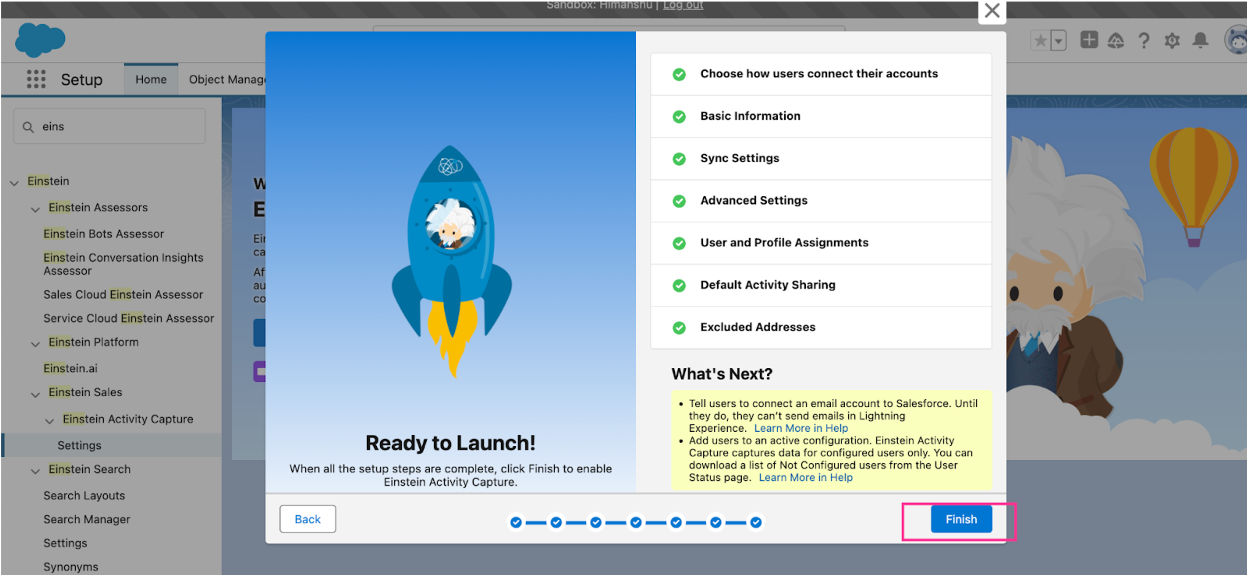
- Click Next and complete the setup by clicking Finish.
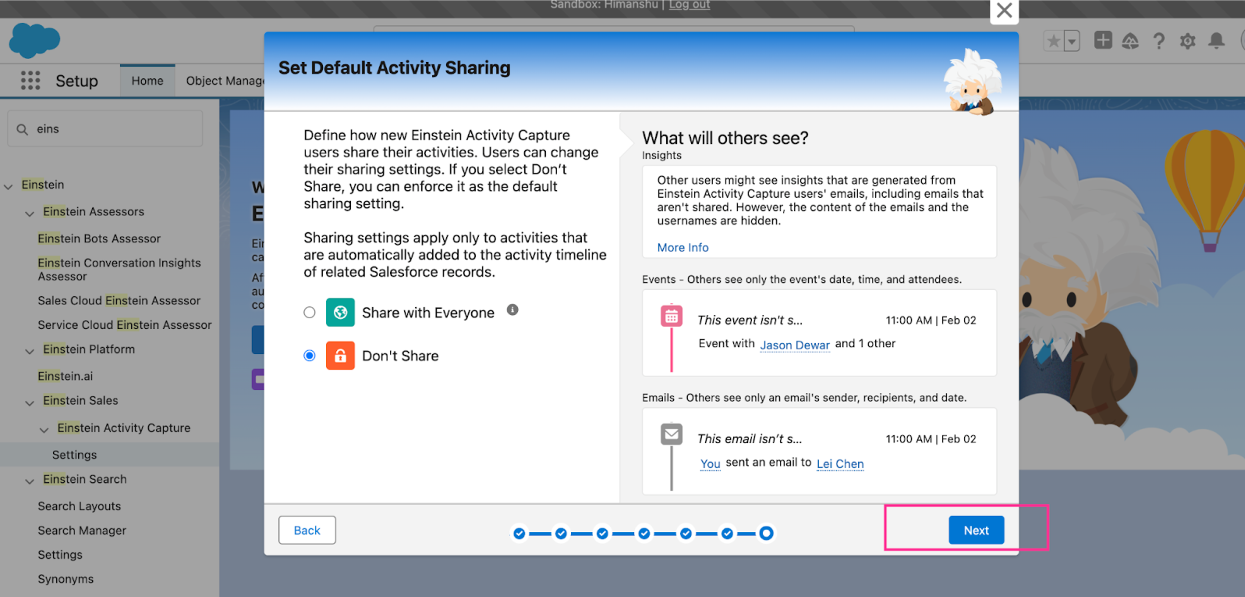
- Select the recommended Don’t Share option for default activity sharing.
Additional Notes on Email Sync
- Internal Emails Exclusion:
- Emails where all addresses (sender, recipient, CC) belong to the same internal domain are excluded by default.
- Emails from domains listed in the exclusion settings or matching connected data source domains are also considered internal.
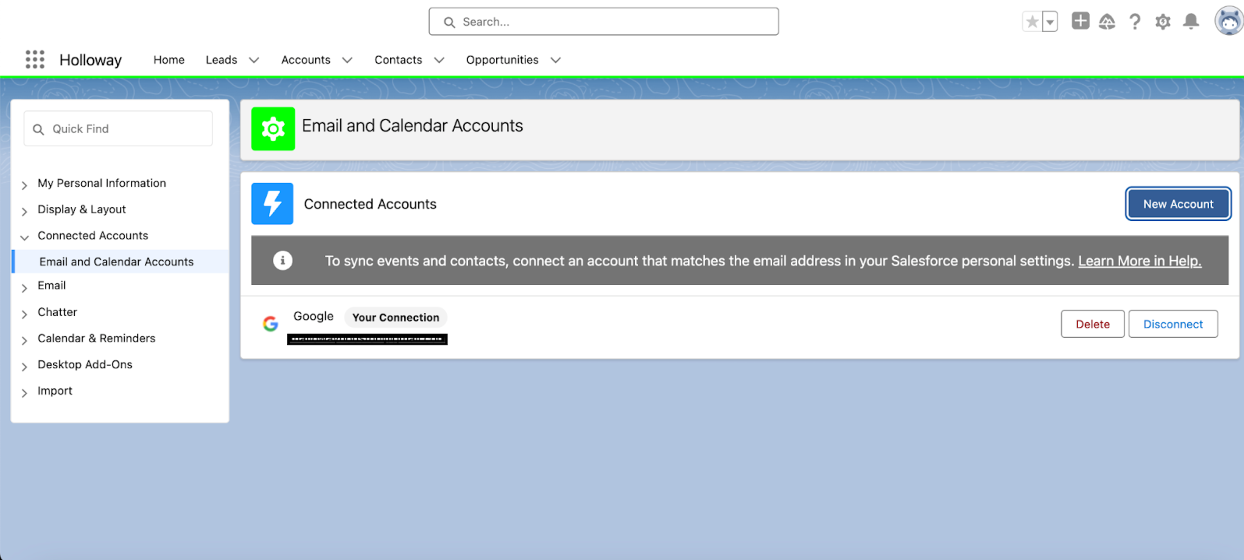
Connecting Your Email Account
To complete the integration, connect your email account:
- Access Email and Calendar Settings:
- A popup will appear prompting you to connect your email.
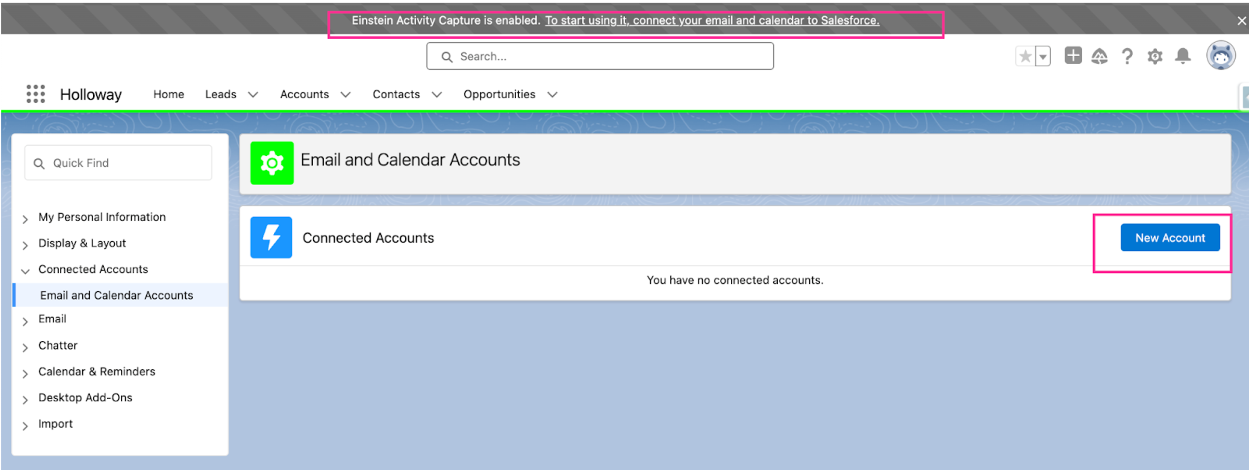
- Alternatively, navigate to User Settings via the user avatar and find Email and Calendar Accounts.
- A popup will appear prompting you to connect your email.
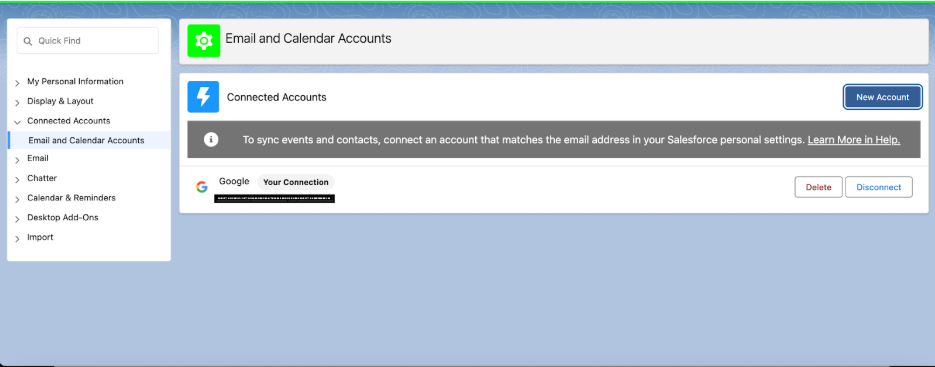
- Sync Your Account:
- After connecting, Salesforce will synchronize emails and calendar interactions automatically.
Final Thoughts
Einstein Email Capture is a powerful tool for capturing and analyzing customer communications, enhancing productivity, and improving data accuracy in Salesforce. By following this guide, you can easily set up and start leveraging this feature for your organization.